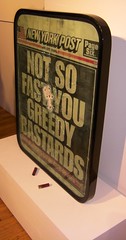
Recently I completed a hardware hacking gig for the French street artist Zevs. He wanted to take an old school Sony Dream Machine clock radio and enable it to play "Hip to be Square" by Huey Lewis and the News at a greatly reduced speed. The piece premiered along with several other works last night at Gallery De Buck in New York City, as part of Zevs' "Liquidated Version" exhibition (running through April 7th).
I was excited to work on this project because it combined my skills as a musician, hardware hacking, fabrication, and electronics.
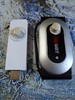
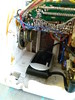
The piece needed to look exactly like a standard Sony Clock Radio, except for two small buttons in the back to control an mp3 player and FM transmitter. The big challenge was to neatly fit all the hardware into the enclosure and make the design robust enough that the piece could withstand travel and continuous use both in the gallery and by a potential buyer.
I considered saving space by using discrete electronics and circuit boards, but decided to forego this in favor of off-the-shelf components. I did this because I was working on a deadline, and was more confident in the fabrication skills it would take to make space in the enclosure than my electronics expertise.
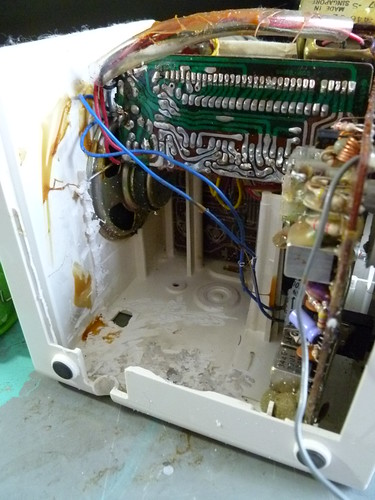
It turns out the space was much tighter than I thought, so I had to remove a considerable amount of material with the Dremel. There was a lot of plastic in the trash by the end of this, and part of this process left a circuit board floating with no support, so I had to fabricate a new one and glue it to a sidewall.
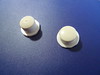
With this done I set about fitting in the components. I took the buttons from a similar clock and mounted them to the on/off switches of the mp3 player and FM transmitter, then drilled out holes for the buttons and LED indicators on the back plate of the clock.
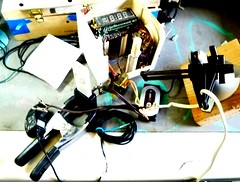
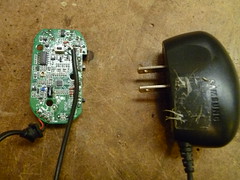
After mocking up and testing the electronics, with separate transformers for the clock, mp3 player, and FM transmitter, I carefully epoxied all the pieces in with JB Weld.
To make everything fit, I had to do a lot of chores like making a custom USB cable to power the mp3 player, and hardwiring the power cord to the circuit board on the FM transmitter.
I'm proud to say the artist was pleased with the results, and he called the piece the "cornerstone" of the exhibition.
One thing I learned from my poppa about playing music was that if one wants to practice often, one needs an instrument that's readily accessible. He'd always keep his acoustic guitar next to the couch and play during commercials while he watched TV. Sometimes if he was really getting into something, the mute button would stay on for even longer.
Lately with my life's focus switching more to fabrication, art, and technology, music has taken quite a backseat. In fact, several days can go by now without me so much as touching a musical instrument.
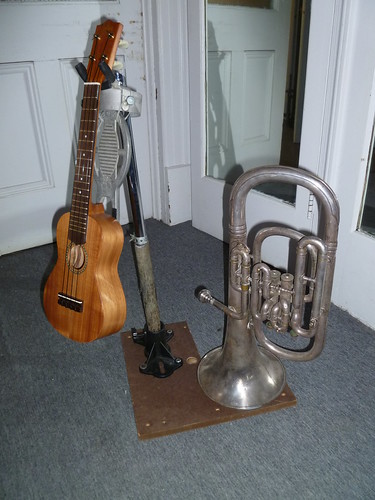
Remember my Dad's tried and true technique, I decided to build stands for two of the instruments I'm most interested in right now: the ukulele, and the alto horn.
I welcomed the challenge of this build, but my main reason for undertaking was purely practical - ukulele and alto horn stands are a bit hard to come by.
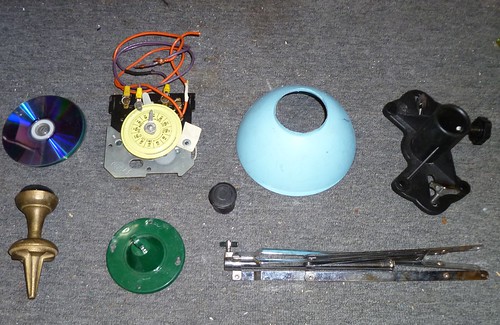
So I rummaged through my junk boxes and found some parts that looked promising. The materials laid out below are CDs, an old outdoor lighting timer unit, desklamp hood, piece of stage PA hardware, brass streetlamp finial, part from a floodlight mount, and a cheap, old cymbal stand.
I ended up using most of these parts in the build, plus some others. Most notably, a 1950s era Ludwig Speed King kick drum pedal to hold the uke up at an angle.
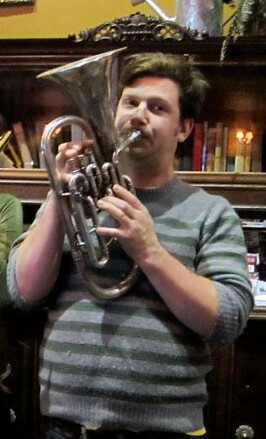
Recently I made an exquisite trade through Craig's list - 5 beat up student violins and a student model trumpet, in exchange for a 90 year old Alto Horn. Since acquiring it I've played it a whole lot.
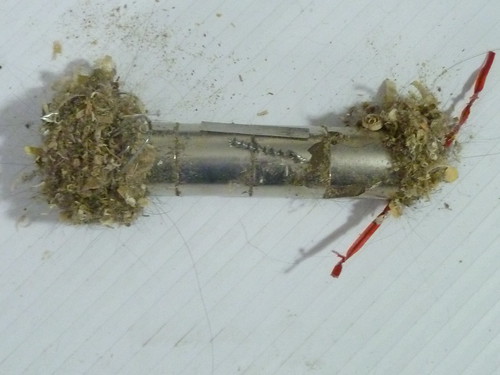
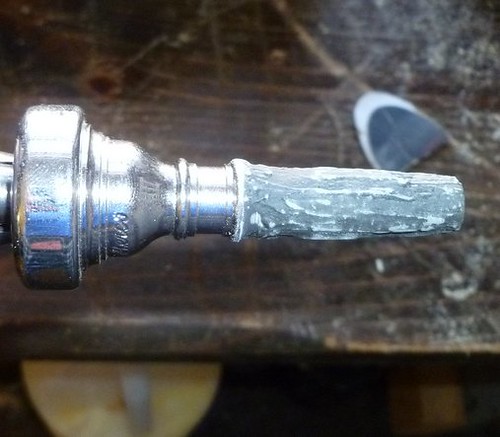
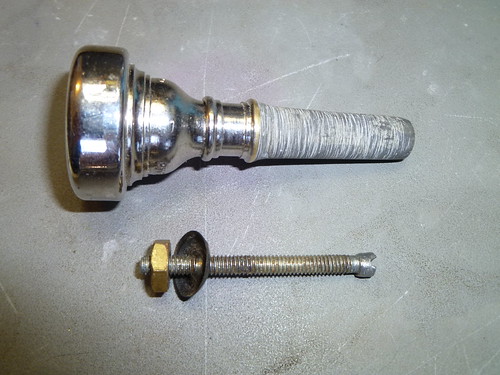
The problem was, the mouthpiece that came with it was for a mellophone, which has a shaft size that's too small for the alto horn. I set about increasing the shaft size instead of holding it together with scotch tape.
First I covered the mouthpiece shaft with a liberal amount of JB-WELD. Initially I thought it would be possible to sand it down by hand to a cylindrical shape, but this proved to be difficult.
My next idea was to sand while it was turning, as on a lathe. This required finding just the right size bolt and nut to secure the mouthpiece, but once done I was able to mount it in my hand drill. which I then mounted in my bench vise.
Then it was just a matter of sanding it down while the drill ran. I'm quite happy with the results, and glad I didn't have to go out and buy a new mouthpiece.
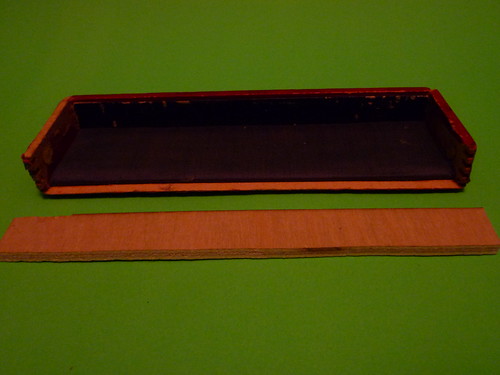
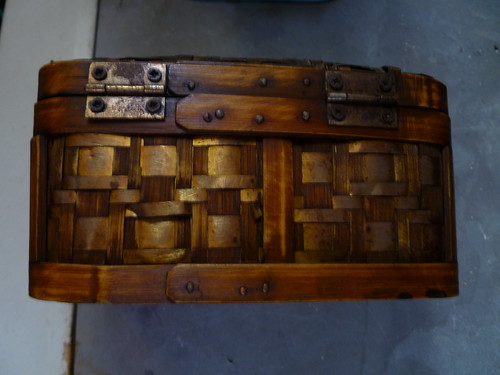
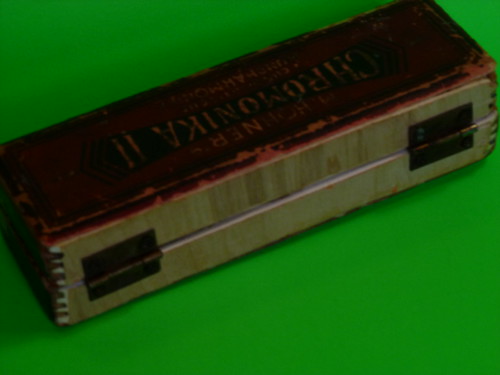
My Grandfather bought a Hohner Chromonika while serving in World War II (ironically, a German brand). When I was a child I had my own little blues harp, and seeing that I had an interest in it, he gave me his harmonica, in a lovely finger-jointed wood box.
Being a child at the time, I was a bit rough on the whole kit, and the box ended up broken with a couple of the pieces lost. I took the time recently to fabricate new finger-jointed pieces, and attach a new pair of hinges. Here's how the build went:
The Harmonica Case and the blank I cut from scrap stock.
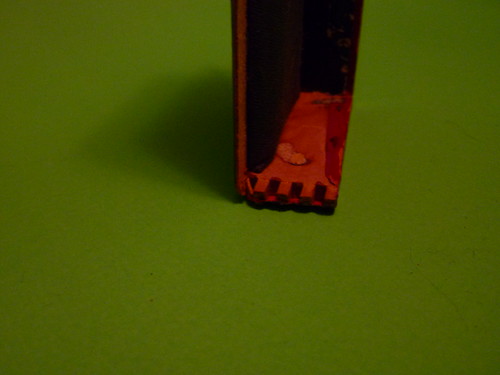
I used the dremel to cut out the finger joints, after scrolling the existing joints on the box. Some adjustments were necessary to get a tight fit.
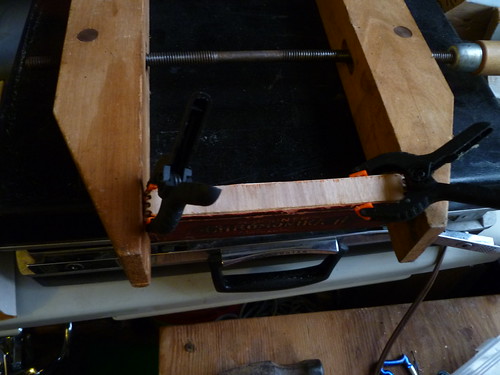
The joints were attached with wood glue, and clamped for drying.
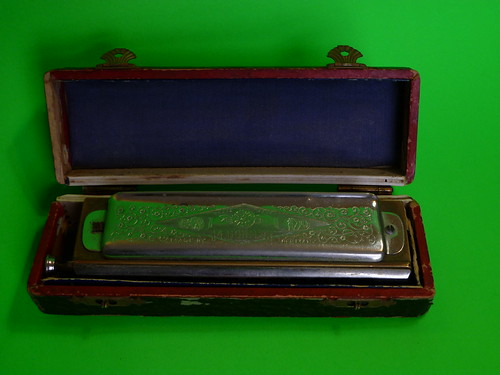
I jacked these hinges off a box that I hardly use. They're pretty weathered, and a decent fit.
I'm happy with the results, and glad I was able to try this detail work with the dremel.